Skill Level:
Crafting Time:
Material(s):
Category:
Tag(s):
Fun to Make with Kids
Nifty & Thrifty
Share This Craft
Search Crafts
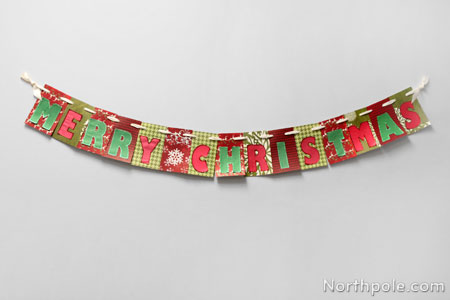
Merry Christmas Banner

Pick out your favorite Christmas cardstock, and you will soon have your own holiday banner. We made ours in classic red & green colors and prints, but you can choose colors that best suit your taste and decor. If you’d like different words on your banner, print the letters from your computer (Be sure to increase the size!) and cut out.
Supplies & Tools:
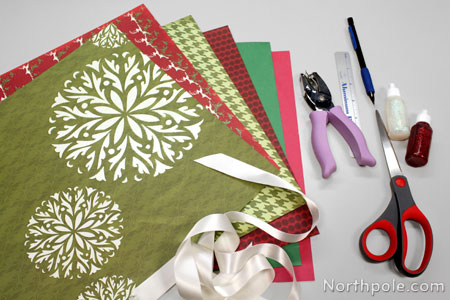
- Printable template (download here)
- 3–4 sheets 12" x 12" scrapbooking cardstock
- 1 sheet red construction paper
- 1 sheet green construction paper
- 1" ribbon, at least 2 yards
- Rubber cement
- Scissors
- One-hole punch
- Ruler
- Pencil
Directions:
- Select red-colored cardstock and green-colored cardstock.
- Measure and cut scrapbook paper into 4" x 6" rectangles (You'll need a total of 16 cards: 15 for letters and 1 blank spacer).
- Use one-hole punch to two punch holes about 1" from the top corners. Repeat for each card.
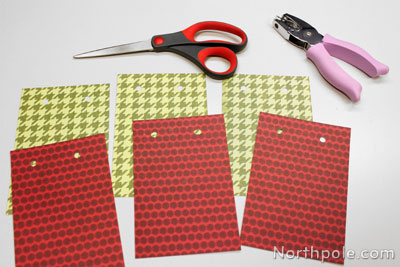
- Lay rectangles on table, alternating colors.
- Print out the letter template and cut out letters.
- Decide which letters will be green and which will be red.� The letters should contrast the card color, so use green construction paper for letters where the background color is red and vice versa.
- Using pencil, lightly trace letters onto construction paper and cut out.
- Using rubber cement, glue letters to the rectangles slightly below the center of the rectangle, as you need to leave space for the ribbon at the top of the rectangles. Let dry.
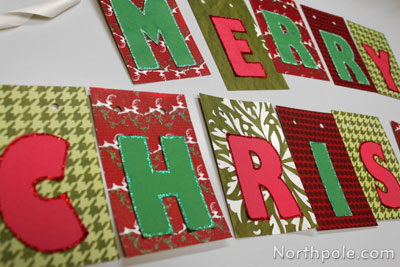
- Thread ribbon through the holes as shown here:
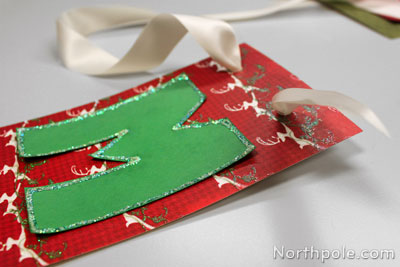
- Continue adding each card, in this order: M-E-R-R-Y-[blank card]-C-H-R-I-S-T-M-A-S
- At each end, fold ribbon over to create a loop and tie in a knot.

- Cut off excess ribbon.
- Use loops to hang banner on wall, over a fireplace, or anywhere you wish!
Ideas from the Elves:
- Use glitter glue to outline each letter.
- Use a foam stamp and paint to decorate the blank card.


