Skill Level:
Crafting Time:
Technique(s):
Material(s):
Category:
Tag(s):
Share This Craft
Search Crafts
Bart the Polar Bear
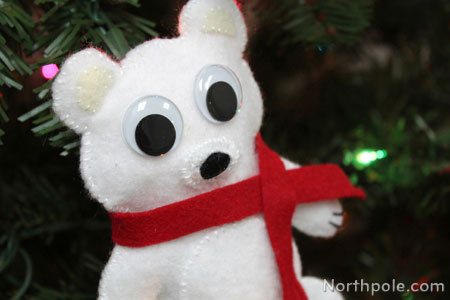
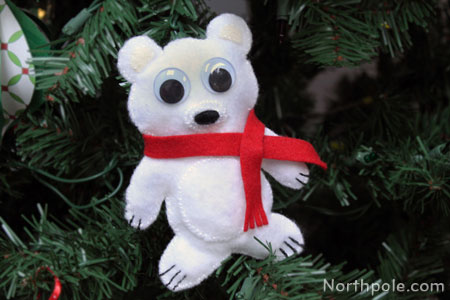
This cute white bear is sure to stand out on any Christmas tree! Bart handsomely sports a red scarf, but try adjusting his accessories for fun. After you’ve sewn your own soft Bart, read about Bart’s adventure at the North Pole here.
Supplies & Tools:

- Printable template (download here)
- Felt: white, ivory, red, and black
- Poly-fil®
- Wiggly eyes
- White pompom
- Fabric glue, such as Liquid Stitch
- Needle
- Embroidery floss: white, red, and black
- Scissors
- Straight pins
Directions:
Cut Felt Pieces:
- Print the template and cut out pattern pieces.
- Place pattern pieces on felt and pin to secure in place.
- Cut out felt pieces. Remove pins and set pattern pieces aside.
Add Features:
- Cut a piece of black floss and sew 2 or 3 lines on each paw of piece #1.
- Cut a piece of white floss and sew the inner ears (pieces #3 and #4) onto piece #1.
- Place piece #7 in the middle of piece #1 and begin sewing in place using white floss. Once belly is sewn about halfway, stuff belly with Poly-fil®.
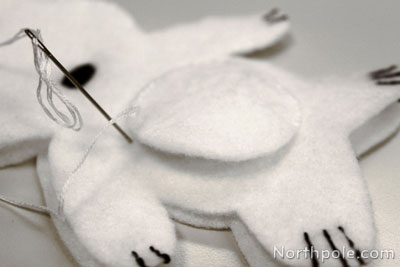
- Continue sewing until belly is completely sewn.
- Cut a piece of black floss and sew #5 onto #6.
- Place eyes on face, but do not glue yet. Place #6ďż˝(the snout) on top of piece #1 using the eyes to help you decide upon the placement. Set aside eyes. Sew piece #6 onto #1 using white floss.
- Glue eyes in place and let dry.
- Glue white pompom on the lower half of piece #2 and let dry. This is the tail.
Sew Pieces Together:
- Lay piece #1 and #2 on top of each other.
- Cut a strand of white floss and begin sewing around the bear. After sewing about 3/4 of the way around, stop sewing and fill bear with Poly-fil®.
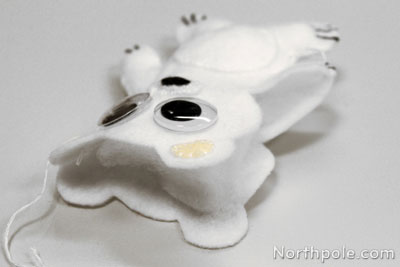
- Now continue sewing until complete. Tie a knot in the floss and sew into bear to conceal excess floss. (For more explanation on this method, see this tutorial.)
Add Accessories:
- Take the red scarf and wrap around bear’s neck. Use needle and red thread to secure scarf in place.ďż˝Trim the thread after sewing a stitch.
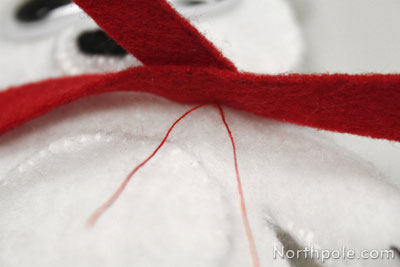
- Now your ornament is complete!
Elfy Hints:
- Instead of Poly-fil®, you can also use cotton balls, felt/fabric scraps, or batting.
- When using embroidery floss, separate the strand in half so that there are 3 individual threads in each half.
Ideas from the Elves:
- Optional tail: cut out piece #9 from template and pin to white felt. Cut out felt piece and cut along solid lines. Remove pins and template and set aside. Begin rolling felt along the center line. Sew or use hot glue as you roll so that it will hold its shape. Once completely rolled up, affix to piece #2 using hot glue or sew in place. (Roll and glue in a fashion similar to felt roses.)
- Cut 2 pieces of #6�and stack together to make the nose look more 3D.


