Skill Level:
Crafting Time:
Technique(s):
Material(s):
Category:
Tag(s):
Share This Craft
Search Crafts
Fleece Navidad!
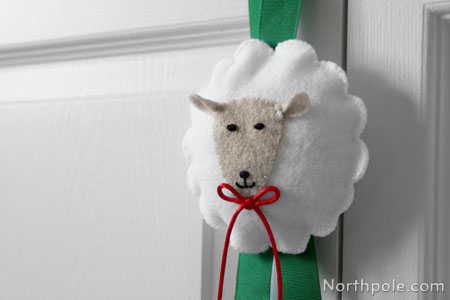
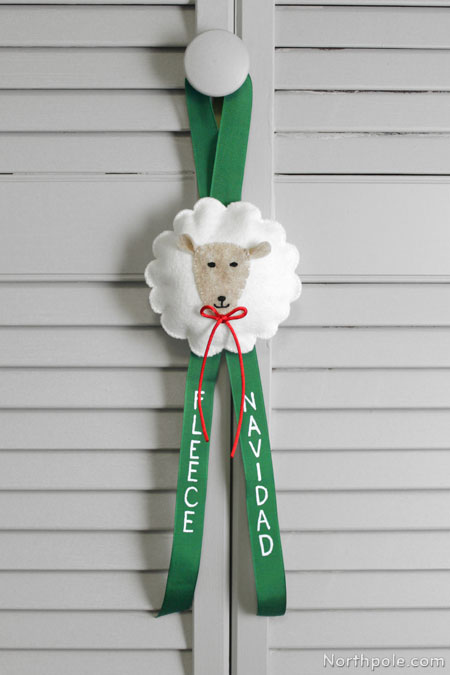
We know it’s a little cheesy, but we just couldn’t resist! This puffy sheep is SO fluffy that his legs and feet are hidden in all his wool. Hang this little lamb on any door knob in your home, and he will greet you every time you see him with his dangly streamers that say, “Fleece Navidad!”
Supplies & Tools:
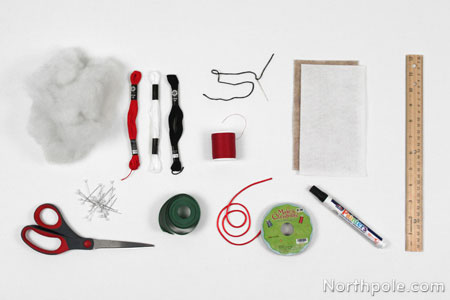
- Printable template (download here)
- White felt
- Tan felt
- White embroidery floss
- Black embroidery floss
- Red ribbon (cord)
- Red thread
- 40" green grosgrain ribbon, 1" wide
- Scissors
- Needle
- Pins
- Ruler
- White paint pen
- Poly-Fil®
Directions:
- Print the template and cut out the pieces.
- Pin the pieces to felt and cut out. Remove pins and set aside. For the small pieces (the ears and head), we didn’t bother pinning the template to the felt. We just held the template against the felt and snipped away!
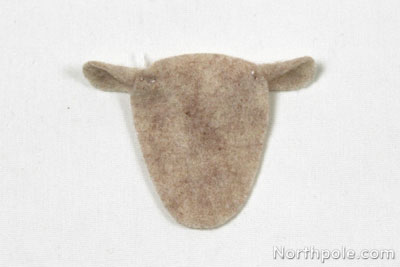
- Take an ear and fold the square end in half lengthwise. Tack onto the back of the head with 2 stitches. Repeat for other ear.
- Using a full (6 strand) piece of black embroidery floss, sew eyes, nose, and mouth. See hints below for some tips on sewing the mouth.
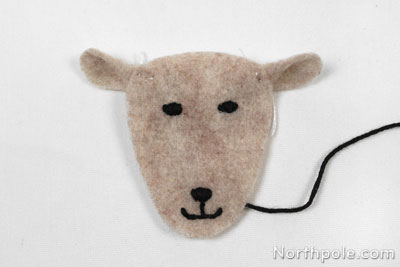
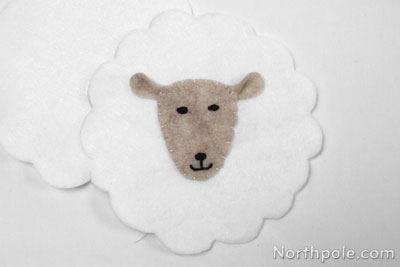
- Place the face onto one of the body pieces, and sew the face in place. We used a half of a piece of embroidery floss (3 strands).
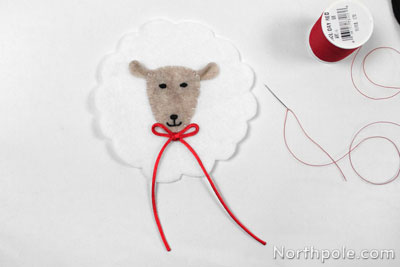
- Cut a 12" piece of red ribbon (or cord-like ribbon). Tie the ribbon into a bow and sew the bow under the sheep’s chin with red thread.
- Take the piece of green ribbon and lay it on work surface as shown below. In order to gauge how much room you’ll need to write on the ribbon tails, take one of the body pieces and lay it on the ribbon, where the ribbon crosses itself. Move the sheep up or down until you’re comfortable with how it looks. On our ribbon, the bottom of the sheep is about 8.5" above the ends of the ribbon.

- Using white paint pen, write “FLEECE” on one tail and “NAVIDAD” on the other. Allow the paint to dry. (You can use a fine-tipped paintbrush and paint instead of the paint pen.)
Note: It’s important to leave at least 2" at the end of the ribbon blank because the ends will curl slightly. If your words are too low on the ribbon, you’ll end up with illegible text. If you are a little uneasy about writing on ribbon, you can practice on a scrap of paper to make sure you get the spacing just right. - Stack the two body pieces together and then lay felt over the ribbon.�Remove the top body piece and set aside. Pin the remaining piece to the ribbon.
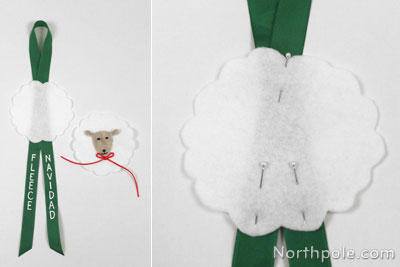
- Sew the ribbon to the felt, leaving some space at the edges of the felt (so you can sew the body pieces together later).
Note: See the Elfy Hints below for a faster method. - Stack the two body pieces together, and begin sewing along the edge. (Again, we are using a 3-strand piece of embroidery floss.)
- Once you’ve sewn about 3/4 way around the sheep, stuff with Poly-Fil®.
- Continue sewing, tying off ends of thread and hiding in between the layers of the felt. See this article to learn how.
Elfy Hints:
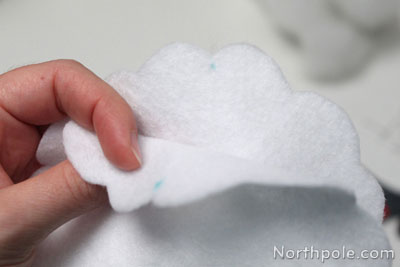
- To help line up the felt pieces, make a small mark on the inside of both pieces.
- To attach ribbon faster, use hot glue to attach ribbon to the back of the sheep.
- To make the mouth, sew a running stitch in one direction, and then fill in the spaces as you sew in the reverse direction.

- When writing vertically on ribbon, lowercase letters tend to look strange, so it is best to capitalize all the letters.
Companion Craft for Kids:
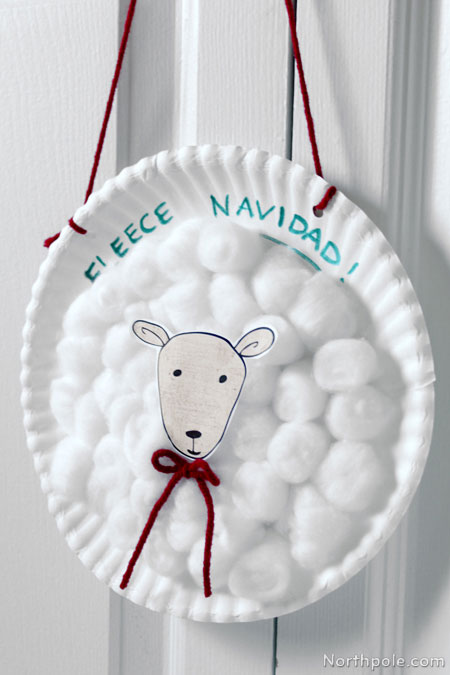
We made a kid version of this craft, so parents and children can make festive sheep together! It is tailored for mini-me’s and is perfect for little crafters. Click here for the instructions.
Fleece Navidad Junior


