Skill Level:
Crafting Time:
Material(s):
Pinecones & Sticks
Pipe Cleaners
Wood
Yarn
Category:
Tag(s):
Share This Craft
Search Crafts
Tree People for the Kids' Table
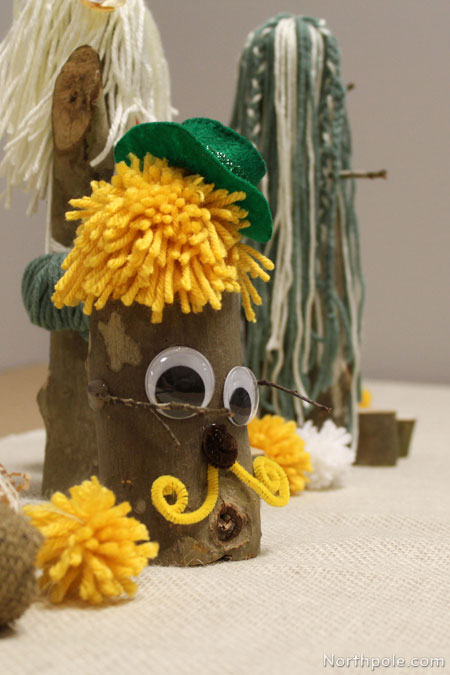
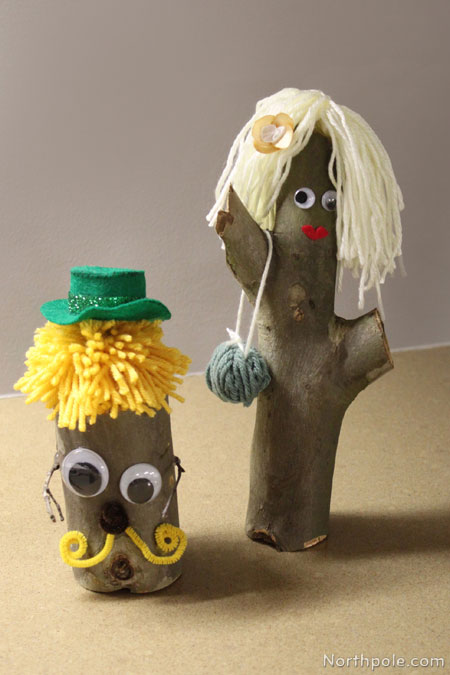
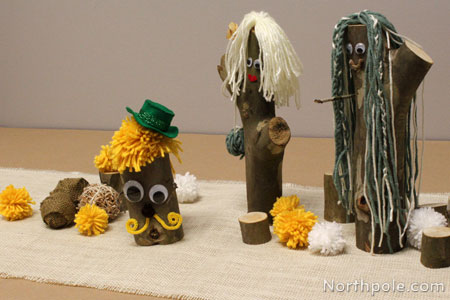
If you are making a rustic centerpiece for your dinner party, but you want something a little different for the kids’ table, here’s a fun idea: jazz up some branches with a few accessories and wiggly eyes! For our tree dudes, we used the leftover pieces of tree branches from when we made some wooden card holders. These cheery, little tree characters are a great way to have the kids’ table décor match the adult table!
If you want to do a whole rustic theme for your decorations, check out the other crafts that coordinate with this one: burlap table runner, balls, bunting, and yarn pompoms.
Supplies & Tools:
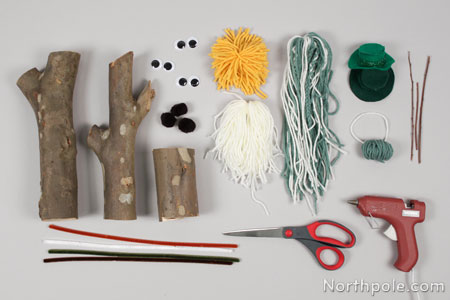
- Tree branch, cut into pieces
- Small twigs
- Scissors
- Wiggly eyes
- Hot glue gun & glue sticks
- Small fuzzy pompoms
- Pipe cleaners
- Felt scraps
- Yarn pompoms
- Yarn hair
- Yarn purse
- Felt hat
Directions:
- Take a piece of a tree branch that is about 3" in diameter. Cut to desired length if necessary. You can create shorter people from pieces that are 4–5" tall. Or you can make taller ones from wood pieces that are about 10" tall.
- Stand up your tree chunk on one end. If it doesn’t stand up, you might need to square off the end using a saw.
- Decide how you would like to accessorize your “person.”
- Make yarn hair, long or short, depending on your preference.
- Glue the wiggly eyes to the wood.
- Glue small branches to the sides for arms.
- Glue a small fuzzy pompom for nose.
- Curl a pipe cleaner for a mustache and glue in place.
- Cut out lips or mustache from felt and glue onto face.
- Make a tiny purse from yarn and hang on “arm”.
- Add hair by using yarn pompoms or by making your own ‘hair’ from yarn. ďż˝To make yarn hair, see below. For yarn pompom instructions, click here.
- Add any other features that you would like.
- Make as many people as you like, making each one unique!
Yarn Hair
This is a slight variation from the yarn pompoms tutorial. You can make yarn hair for any kind fun craft with kids.
Supplies & Tools:
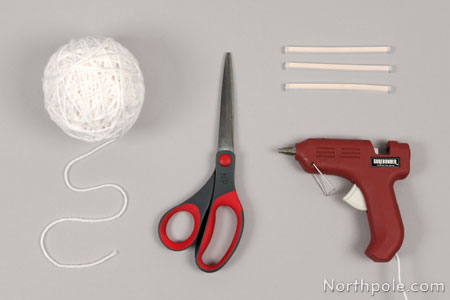
- Yarn (any color)
- Scissors
- Hot glue gun & glue sticks
Directions:
- Take hold of the yarn from the skein. Begin wrapping yarn around your fingers. Keep wrapping until it is a thick as you like.
Note: If you would like your person to have longer hair, consider using another object that is larger than your hand, such as a piece of cardboard, a small book, a kitchen jar, etc.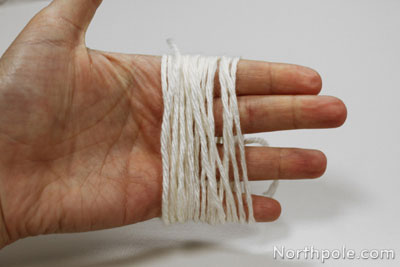
- Cut yarn from the skein.
- Gently pull the yarn off your fingers and set aside.
- Cut a piece of yarn that is about 7" long. Pass yarn through the center of the yarn loops.
- Now firmly tie yarn in a knot to gather yarn loops.
- Cut all the loops of yarn.
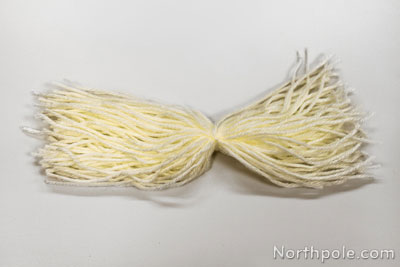
- Simply place hair on top of your wood chunk (doll).
- For a permanent bond, use hot glue to secure in place.
Yarn Purse Accessory
This is a great addition to any doll’s wardrobe and to your tree people.ďż˝This is a slight variation from making yarn pompoms.
Supplies & Tools:
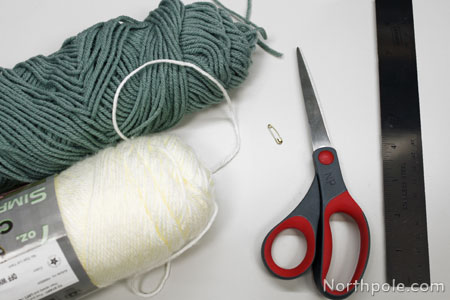
- Yarn, 2 colors
- Scissors
- Ruler
- Small safety pin
Directions:
- Decide what color you want for the purse body and the purse strap. We chose off-white for the strap and spruce for the body.
- Cut a piece of off-white yarn that is 6–7" long.
- Cut a piece of spruce yarn that is 6–7" long.
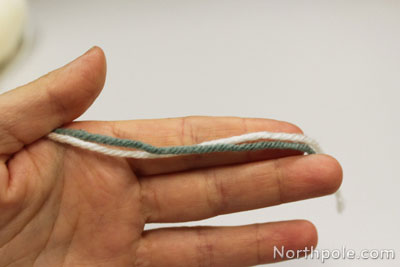
- Hold these two pieces along your one index finger.
- Take hold of spruce yarn (from skein) and begin wrapping it around your index finger.
- Wrap around several times until it starts to get bulky. (About 50 times depending on yarn weight and finger size.)
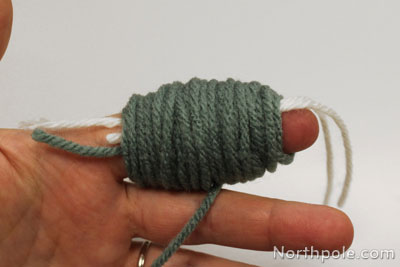
- Gently slide yarn off your finger. (Slide the 2 strands of yarn off with the wrapped yarn.)
- Tie a knot with the off-white strand. This will gather the loops of yarn together. Trim the ends.
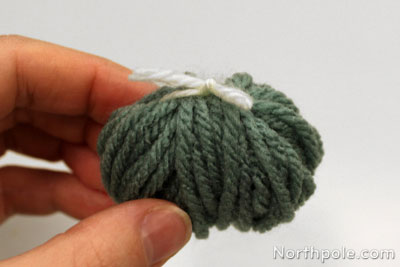
- Tie a knot with the spruce strand and trim the ends.

- Cut another piece of off-white yarn that is about 10" long.
- Tie a knot at one end. Push the safety pin through the knot and close the pin.
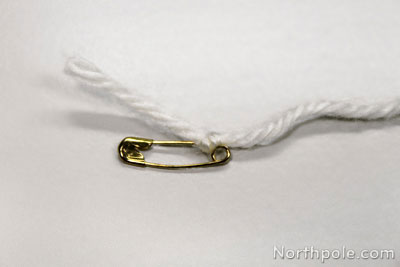
- Gently push through the center of the purse (where other yarn is tied).
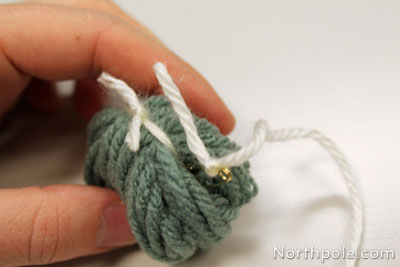
- Pull through the other side and tie the ends in a knot (or tie to desired length). Trim excess yarn if necessary. This is the purse strap.
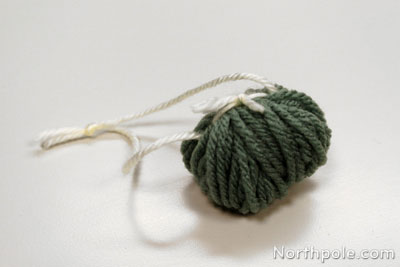
- Rotate strap so that the knot is inside the purse.
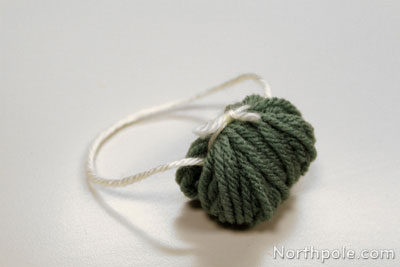
- Now you have a cute yarn purse accessory!
